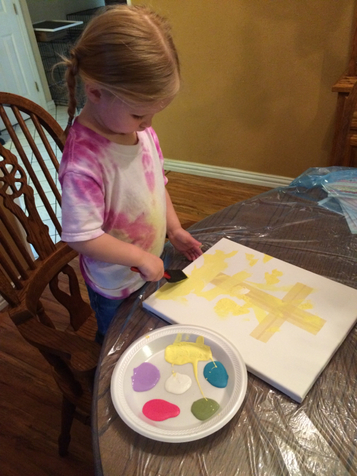
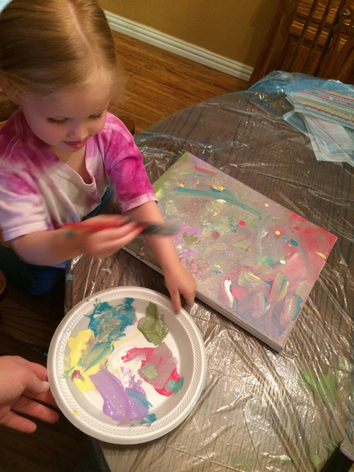
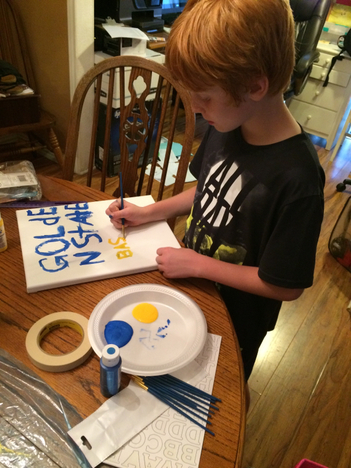
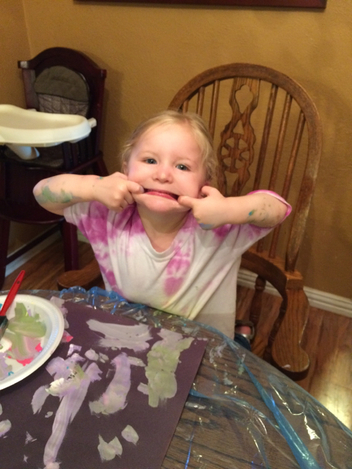
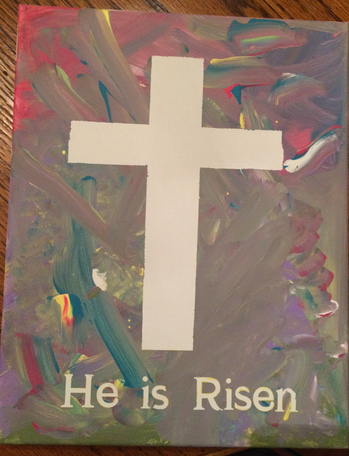
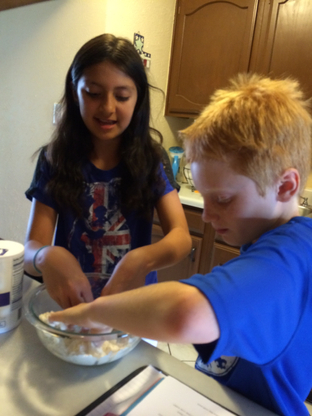
| Our family had such a blast this past weekend, with all of the quality family time, swimming, fireworks, parades... and crafts! There was something for everyone it seemed! My niece and my youngest daughter worked on this super-cute flag painting. Each girl had their own canvas to paint, the mommies taped off the lines where it was needed, put stars where it was needed and let the girls have at it! My little one did not want any of the paint on her fingers, so she used the sponge brush. My niece, on the other hand, had more paint on her face and apron than on her canvas! It was so much fun watching the girls with this project and both flag canvases turned out really great! Our older two kiddos made red, white and blue tin can luminaries. They picked out the design that they wanted, my daughter chose a fireworks template, and my son did a simple USA. They taped it onto their can, took a nail and hammer and started punching little holes in the cans. Once it was all punched, they took some metallic red, metallic white and metallic blue paints and painted their cans with two coats of paint. Once dried, we placed a flickering LED tea light in each can, turned the lights off and it looked soo cool! They were very proud of their efforts! Later in the day, my sister and I made this delicious and oh-so festive firecracker cake! It was so easy! Simply get a boxed white cake mix from the store and prepare the batter according to the instructions. Then, we had two little bowls sitting to the side and put 1 cup of batter in each bowl. To the bowls, we added either blue or red food coloring. The Wilton food coloring gels are absolutely perfect for this, the colors are so bold and it doesn't affect the consistency like liquid food coloring can. In a greased bundt pan, evenly layer first with the red colored batter, then the white and lastly with the blue. Cook according to directions. Once baked and cooled, decorate with your favorite icing. Separate into three bowls and add red food gel to one and blue food gel to the other. We put the frosting into three Ziploc baggies and used the baggies to pipe the frosting onto the cake in a firework pattern. This was so easy, so cool and so fabulous! I'm thinking I might try to do some more fun cakes like this but in different colors! My dad, son and brother-in-law worked on smoking meat the whole weekend. My dad has a passion for smoking meat and does an absolutely phenomenal job every time, so was teaching my son and brother-in-law some of his tips and tricks! He made smoked sausage, smoked shrimp, smoked ribs two ways, and smoked brisket. He made enough not only for this past weekend, but so that my sister and brother-in-law had some to take back with them, as well as some to stick in the freezer to have another day. The meats were all seasoned and cooked perfectly, the rib meat was falling off the bone, brisket was dripping in juices. All-in-all, we had a really fun time, lots of great memories and just quality family time! We loved watching the fireworks, my little one was so sad on Friday night when the fireworks were over - she wanted them to keep going! Hope you all had a fun and safe Independence Day weekend! | 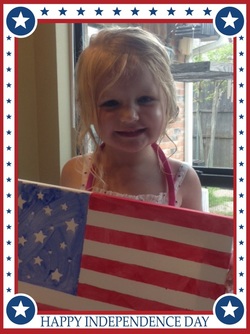 she's so happy with her painting! 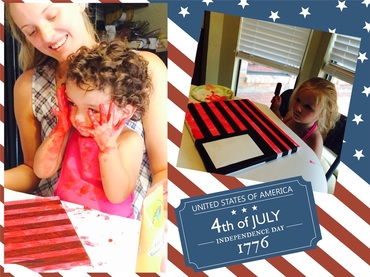 Getting their paint on! 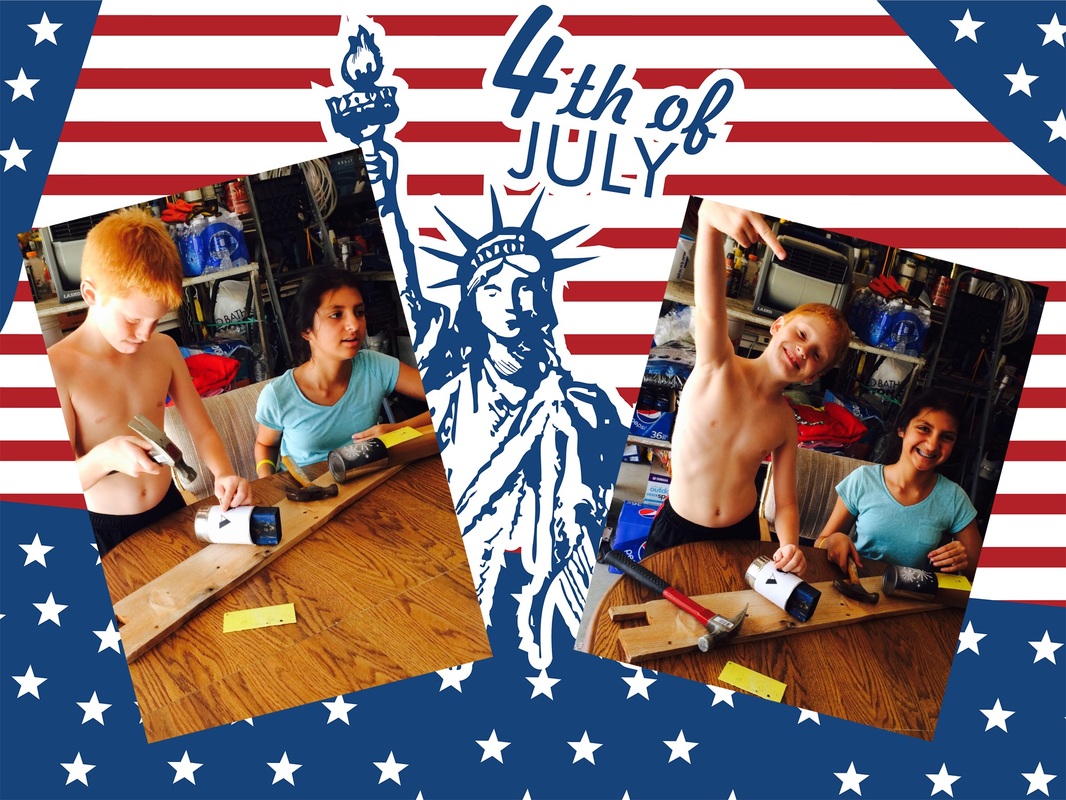 hammering it out!   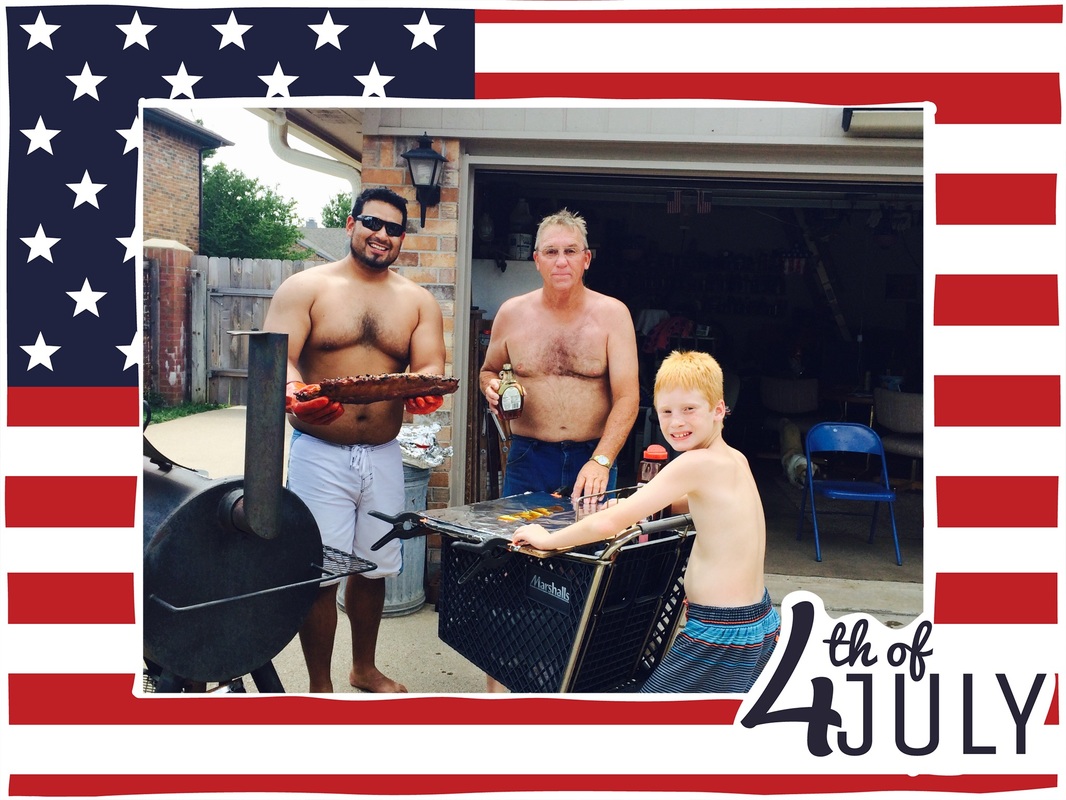 These guys are in their element! |
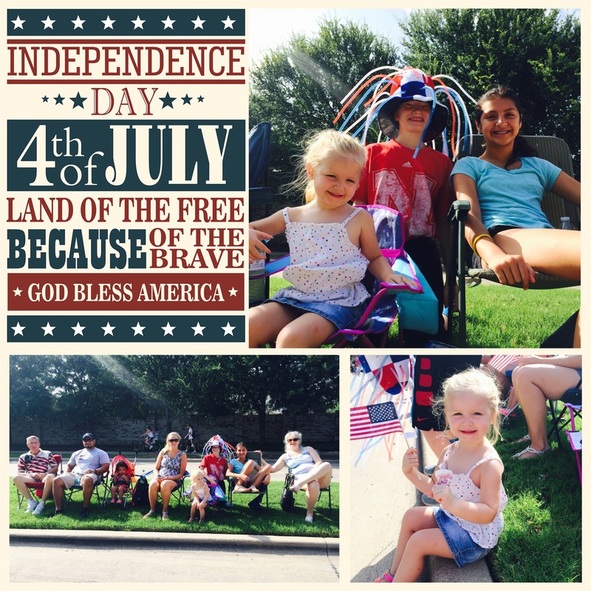
Waiting for our city 4th of July parade to start!!
© Cruzin' Thru

 RSS Feed
