This past weekend, my sister and her family snuck up here to the DFDub, to surprise us with a visit for the long weekend! Woot Woot! I love family time, letting the kids get together and play, swim.. and this time - my mom, sister and I took on a pretty large craft project. Y'all - when I say that these reversible fall/winter wood crafts turned out amazing, I mean they turned out freakin' amazing! I'm always floored by the amount of creativity that runs in this family!
We each created our own wood craft, so the materials listed below are for three crafts!
5 - 1"x4" pieces of fence wood, 8' long
1 - 1"x2", 8' long
acrylic paints - black, brown, white, burgundy
foam brushes
paint pens - black, white, yellow, orange
three glittered poinsettia flowers
three burlap-esque sunflowers
two branches of gold-colored feathery things that look like straw
Wood glue
nail gun
nails for nail gun
miter saw
sander machine
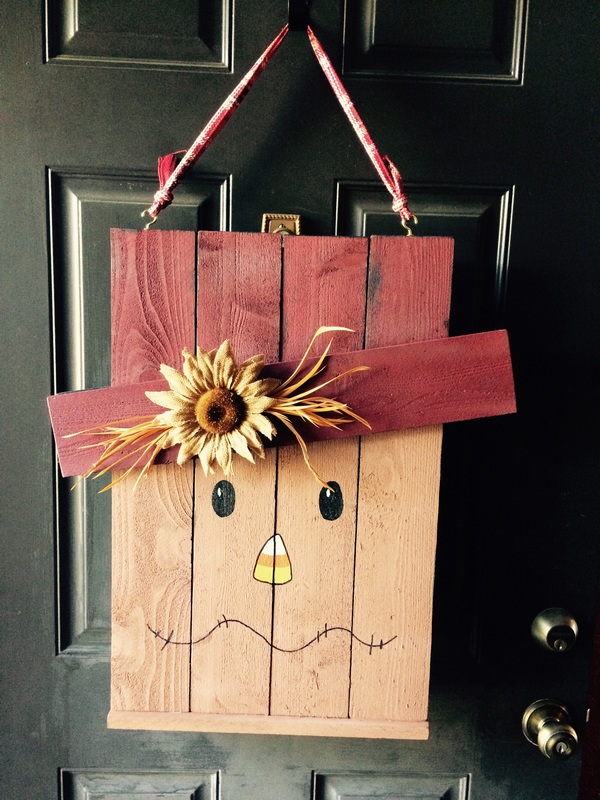
We started by measuring out our wood pieces, how tall we wanted them to be etc. We ended up using four pieces of the 1x4 wood side by side which was about 16" across, and we wanted it to be a little taller than wide, so we measured the length of the pieces out to 24" (2'). We cut three of the 1x4 boards this way to give use the face pieces. The we cut the "brim" pieces or the piece that goes across the face kind of like the brim of the hat. We measured that out to 22", also on the 1x4 boards, so that it would be a little wider than the faces and still look proportionate. Lastly, we cut the 1x2 into 16" pieces, so that it would be flush with both sides of the face, without any overlap. I ended up putting my piece on the bottom as a way, to not only stabilize the entire piece, but also to help when leaning up/standing up against the wall. My mom used her pieces to nail across the front of her wood craft.
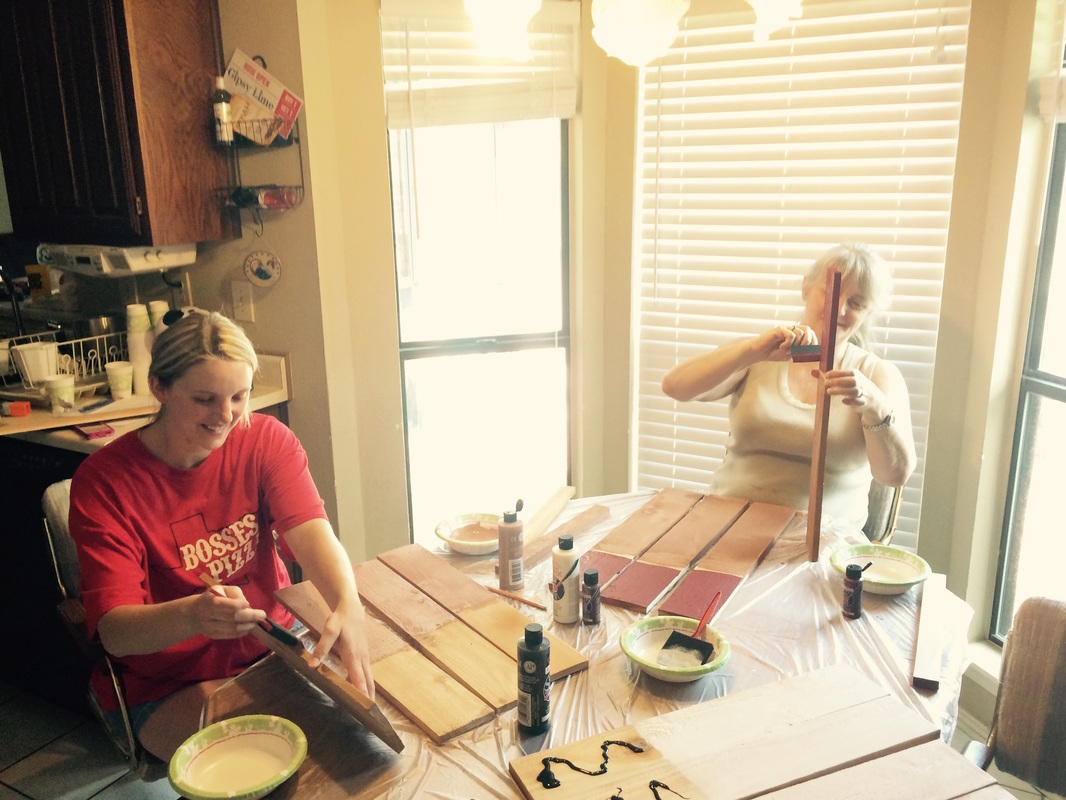
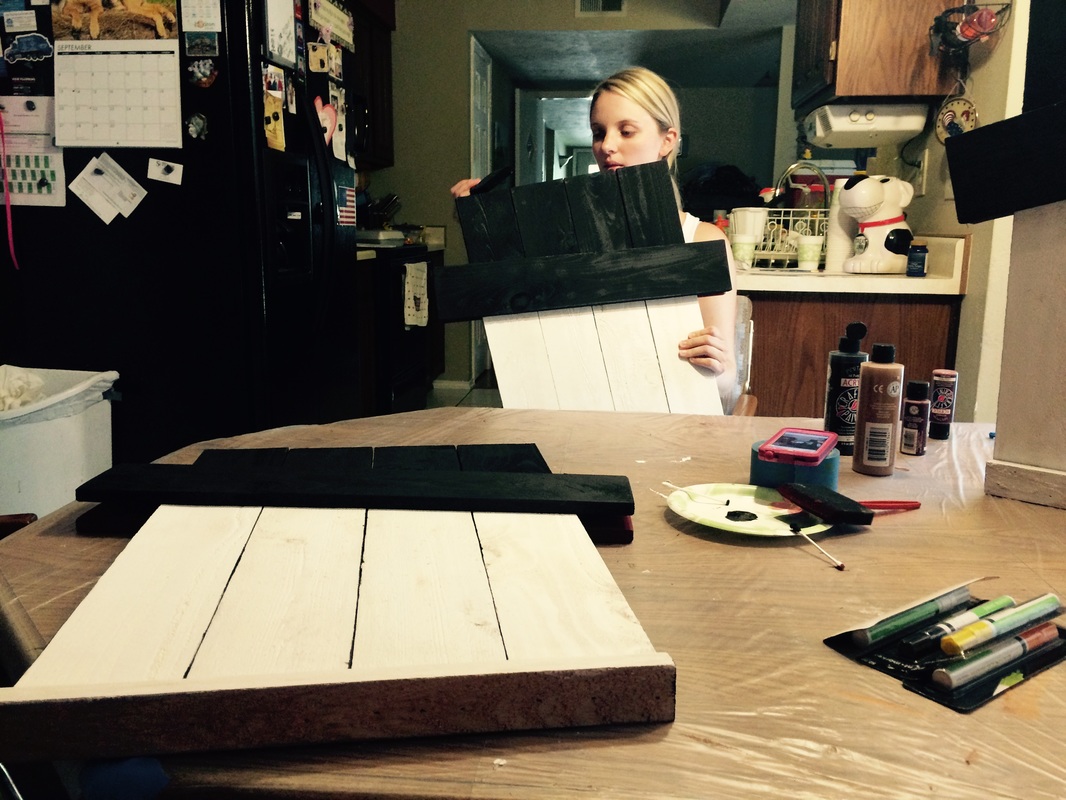
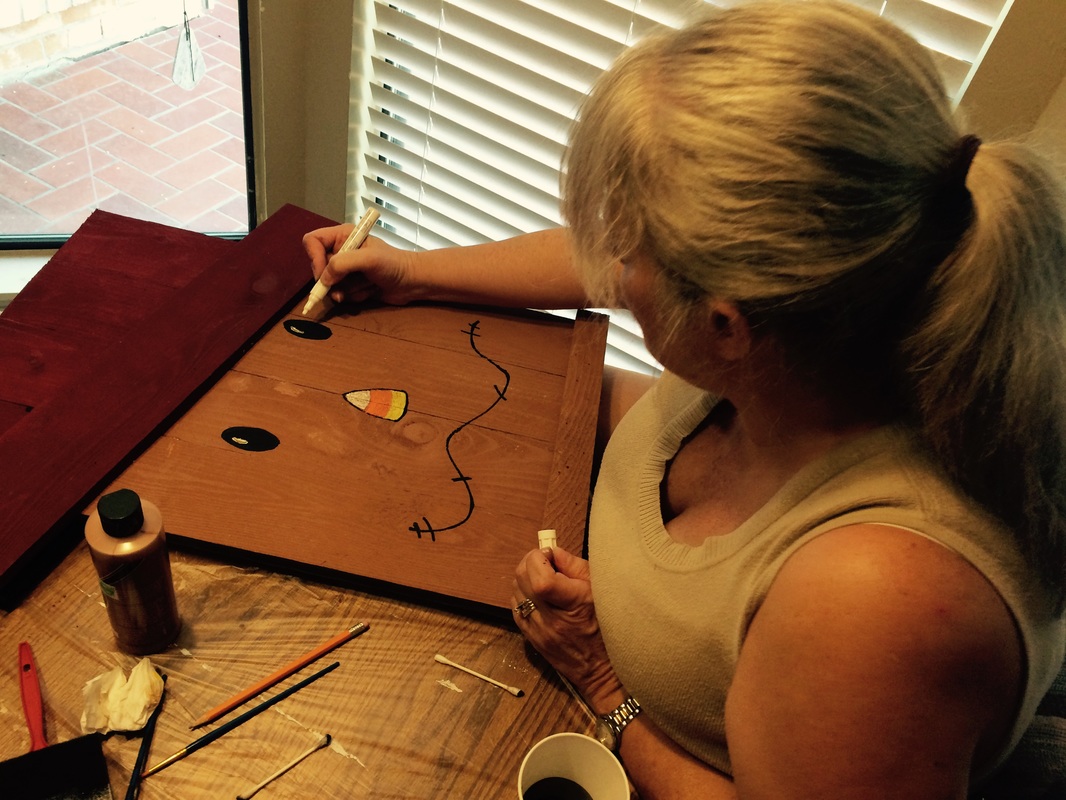
Once the pieces were cut, we used the sanding machine to finish off the edges as well as any areas that needed smoothing. After that, it's time to paint! For the scarecrow face, we used the beige brown and burgundy colors; for the snowman, we used white and black. We put on several coats and let a few minutes drying time between applications. We also painted the brim and trim pieces to match. Lastly, we used the paint pens to draw on the faces for the scarecrow and snowman.
Once all pieces were painted and dried, it's time to get the wood glue and nail gun out! This part was pretty intense, so I don't have any pictures of this! My dad sure is a brave guy to let three women around his tools, especially a nail gun powered by the air compressor! LOL! We started by adding a thin smear of wood glue along the back of the brim piece and then placed it on the front where we wanted. Just a note of caution, be careful because when you flip it over, the brim on the other side is going to have to line up with the brim on the other side. Once the glue and brim are in place, we used the nail gun to make sure the piece was securely in place, about four nails per piece of wood that it's going across. Repeat on the other side, with the other piece of brim as well as with the stabilizing piece at the bottom. Don't worry about the holes from the nails, those can be touched up with paint. After the touch up and dry time, we sprayed on a clear, satin protective enamel to make sure that this craft would be protected whether indoors or outdoors.
Once that was dried, it was only a matter of adding on the finishing pieces, the flowers and straw pieces. We used a hot glue gun and simply hot glued them in place.
This craft did take a little bit of time, and time between phases, but it was nice just being able to chit-chat with my mom and sister over a cute craft like this. Most of the time we're managing schedules, kids or being pulled in so many different directions that it was awesome just being able to chill together!
We each created our own wood craft, so the materials listed below are for three crafts!
5 - 1"x4" pieces of fence wood, 8' long
1 - 1"x2", 8' long
acrylic paints - black, brown, white, burgundy
foam brushes
paint pens - black, white, yellow, orange
three glittered poinsettia flowers
three burlap-esque sunflowers
two branches of gold-colored feathery things that look like straw
Wood glue
nail gun
nails for nail gun
miter saw
sander machine
We started by measuring out our wood pieces, how tall we wanted them to be etc. We ended up using four pieces of the 1x4 wood side by side which was about 16" across, and we wanted it to be a little taller than wide, so we measured the length of the pieces out to 24" (2'). We cut three of the 1x4 boards this way to give use the face pieces. The we cut the "brim" pieces or the piece that goes across the face kind of like the brim of the hat. We measured that out to 22", also on the 1x4 boards, so that it would be a little wider than the faces and still look proportionate. Lastly, we cut the 1x2 into 16" pieces, so that it would be flush with both sides of the face, without any overlap. I ended up putting my piece on the bottom as a way, to not only stabilize the entire piece, but also to help when leaning up/standing up against the wall. My mom used her pieces to nail across the front of her wood craft.
Once the pieces were cut, we used the sanding machine to finish off the edges as well as any areas that needed smoothing. After that, it's time to paint! For the scarecrow face, we used the beige brown and burgundy colors; for the snowman, we used white and black. We put on several coats and let a few minutes drying time between applications. We also painted the brim and trim pieces to match. Lastly, we used the paint pens to draw on the faces for the scarecrow and snowman.
Once all pieces were painted and dried, it's time to get the wood glue and nail gun out! This part was pretty intense, so I don't have any pictures of this! My dad sure is a brave guy to let three women around his tools, especially a nail gun powered by the air compressor! LOL! We started by adding a thin smear of wood glue along the back of the brim piece and then placed it on the front where we wanted. Just a note of caution, be careful because when you flip it over, the brim on the other side is going to have to line up with the brim on the other side. Once the glue and brim are in place, we used the nail gun to make sure the piece was securely in place, about four nails per piece of wood that it's going across. Repeat on the other side, with the other piece of brim as well as with the stabilizing piece at the bottom. Don't worry about the holes from the nails, those can be touched up with paint. After the touch up and dry time, we sprayed on a clear, satin protective enamel to make sure that this craft would be protected whether indoors or outdoors.
Once that was dried, it was only a matter of adding on the finishing pieces, the flowers and straw pieces. We used a hot glue gun and simply hot glued them in place.
This craft did take a little bit of time, and time between phases, but it was nice just being able to chit-chat with my mom and sister over a cute craft like this. Most of the time we're managing schedules, kids or being pulled in so many different directions that it was awesome just being able to chill together!

© Cruzin' Thru
 RSS Feed
